A macro lens is a specialist lens that allows you to get very close to your subject and record its details, and can do a 1:1, or life-size reproduction, of the subject. It is different to the regular lens. Don’t try to use it as regular lens. The optical design is different. And it is not able to take photo on distant subject.
What is Macro Lens?
Regular Wide lenses have a minimum focusing distance around 30cm, according to the focal length and lens optical design. The minimum focusing distance will be longer for Telephoto Lens. And it does not allow you to get too close to a tiny subject, to make it that big. For example, The EF 18-55mm IS ii lens can focus at about 25cm and can not get closer.
Calculate the Magnification rate
Magnification rate
= Magnification rate of Camera Lens + Diopter * Focal Length * (Magnification rate of Camera Lens + 1 ) / 1000
For Example,
Canon EF-S55-250mm F4-5.6 IS
Magnification rate of Camera Lens(@250mm) = 0.31x
KZ-08 (Diopter = 8)
=> 0.31 + 8 x 250 x ( 0.31 + 1 ) / 1000
= 2.93x
i.e. The Magnification Rate for KZ-08 at the Canon EF-S55-250mm F4-5.6 IS
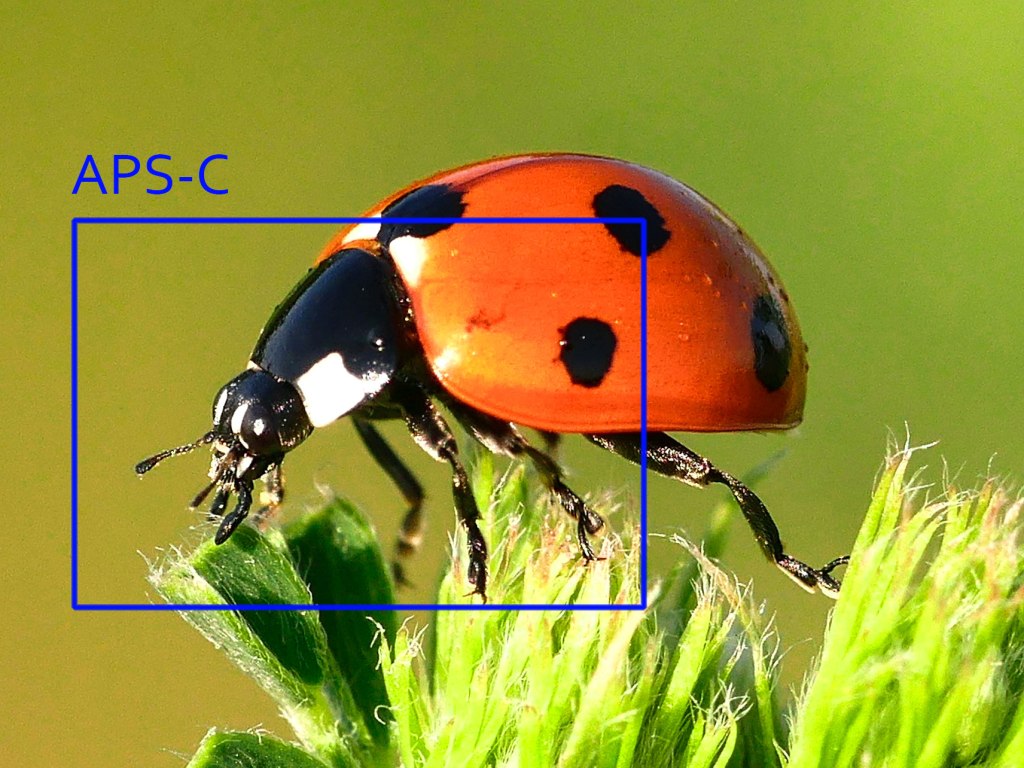
is 2.93x. That is meaning the 1cm bug will be reflect to the CMOS as 29.3mm That is already bigger than the Full screen on the APS-C Camera.
(APS-C CMOS size = 25 x 17 mm )
How to use Macro?

- The proximity of your camera to your subject means that camera shake is very obvious when you shoot macro video. To avoid it, use a tripod. If you want to introduce motion into a macro video, ensure that it is smooth enough.
- Macro lenses typically produce a very shallow depth of field, that means getting everything in focus can be tricky. You need to be very precise with your composition and focus. Manual Focus will be more prefer.
- It is better to focus by moving your camera forward and backword to the subject instead of Auto-Focus.
- Getting very close to a small subject can often result in blocking out more light. The shallow depth of field of a macro lens also means that you might not be able to use wide aperture. So, you may need to introduce another light source.
Selection for Close up Photography
Here are some options
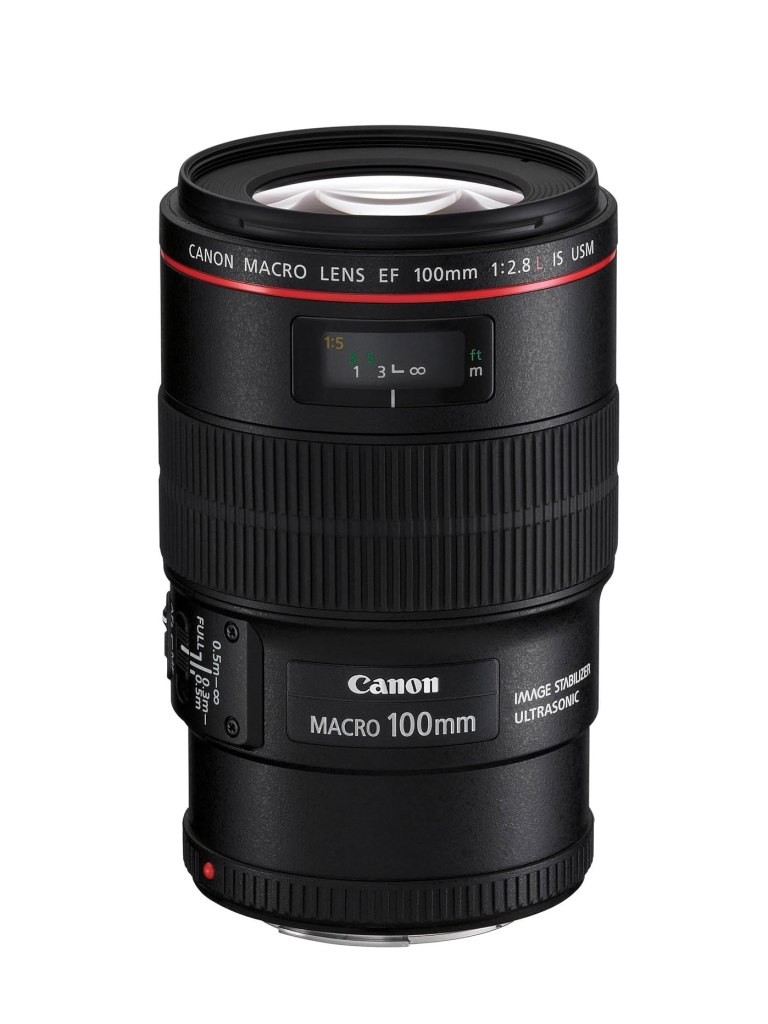
Buy a Macro Lens – Simply put, you can get the best quality image possible for closeup photography by using a macro lens. You can use autofocus (although not recommended for macro photography) and sometimes, do double duty for another area of photography you like to do like portraits, or street photography even.
Cost = ~ $1000
Buy an extension tube – This is a slightly less expensive option. But that will cause light loss.
Cost = ~$150


Rent one – Check at your local camera store to see if that’s an option. It will be good choice if you are planning to buy one at some point in the future, or not. So, spend the rental fee to find out before going all in and buying one.
Cost = ~ $50 (for a weekend).
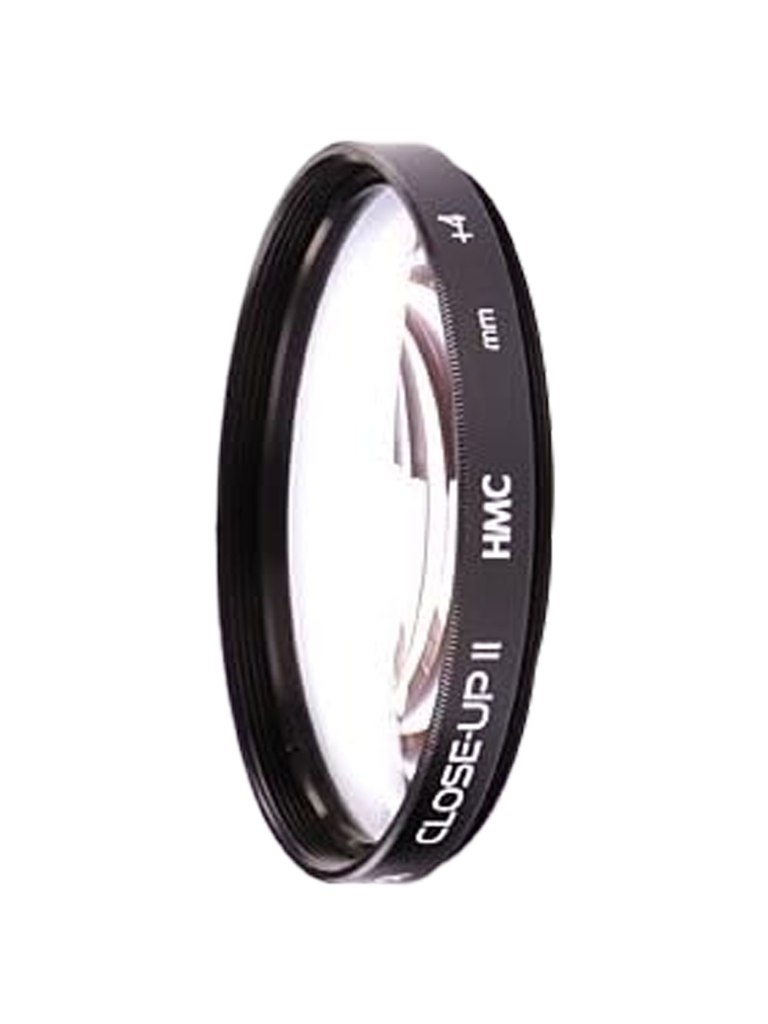
Closeup filters – Image quality will vary greatly depending on the filters you get. Sometimes, big distortion you will found on your photo because there is only single Glass on it.
Cost = ~ $30-120 (Depend on quality).

Macro Converion Lens – The affortable price with the better quality that good control of distortion.
Cost = ~ $50
Caution
The add-on of the close up accessories, include the Extension Tube, Close up Filter and Macro Conversion Lens will cause you can not focus on the normal photography, like: portraits, or street photography…etc. You will need to take it off if you are shooting the subject which is not close enough
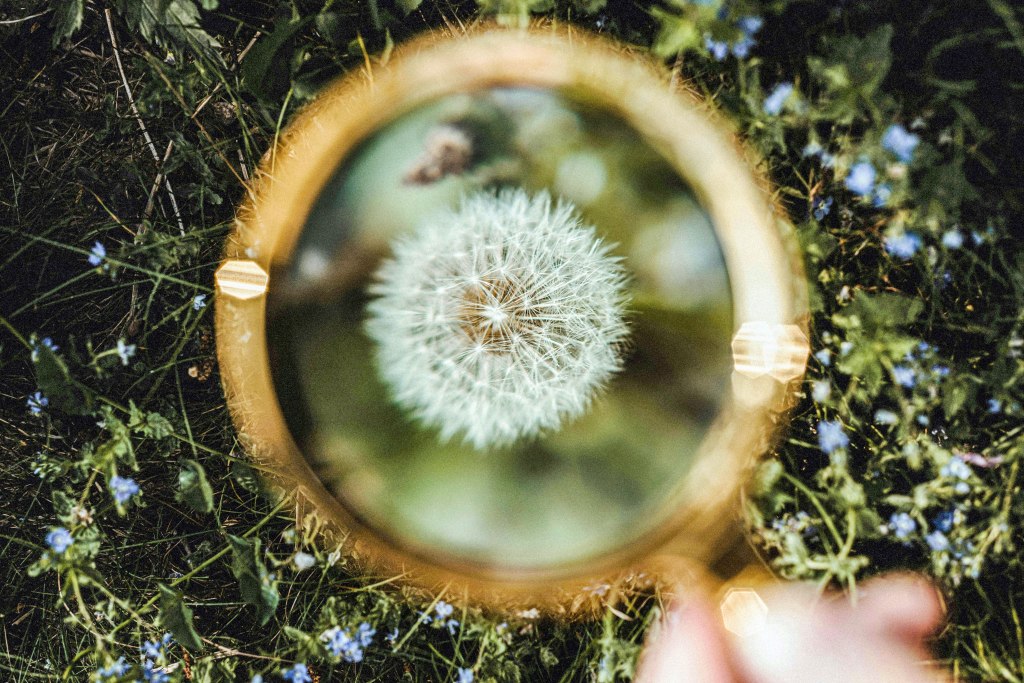
Here are some sample image
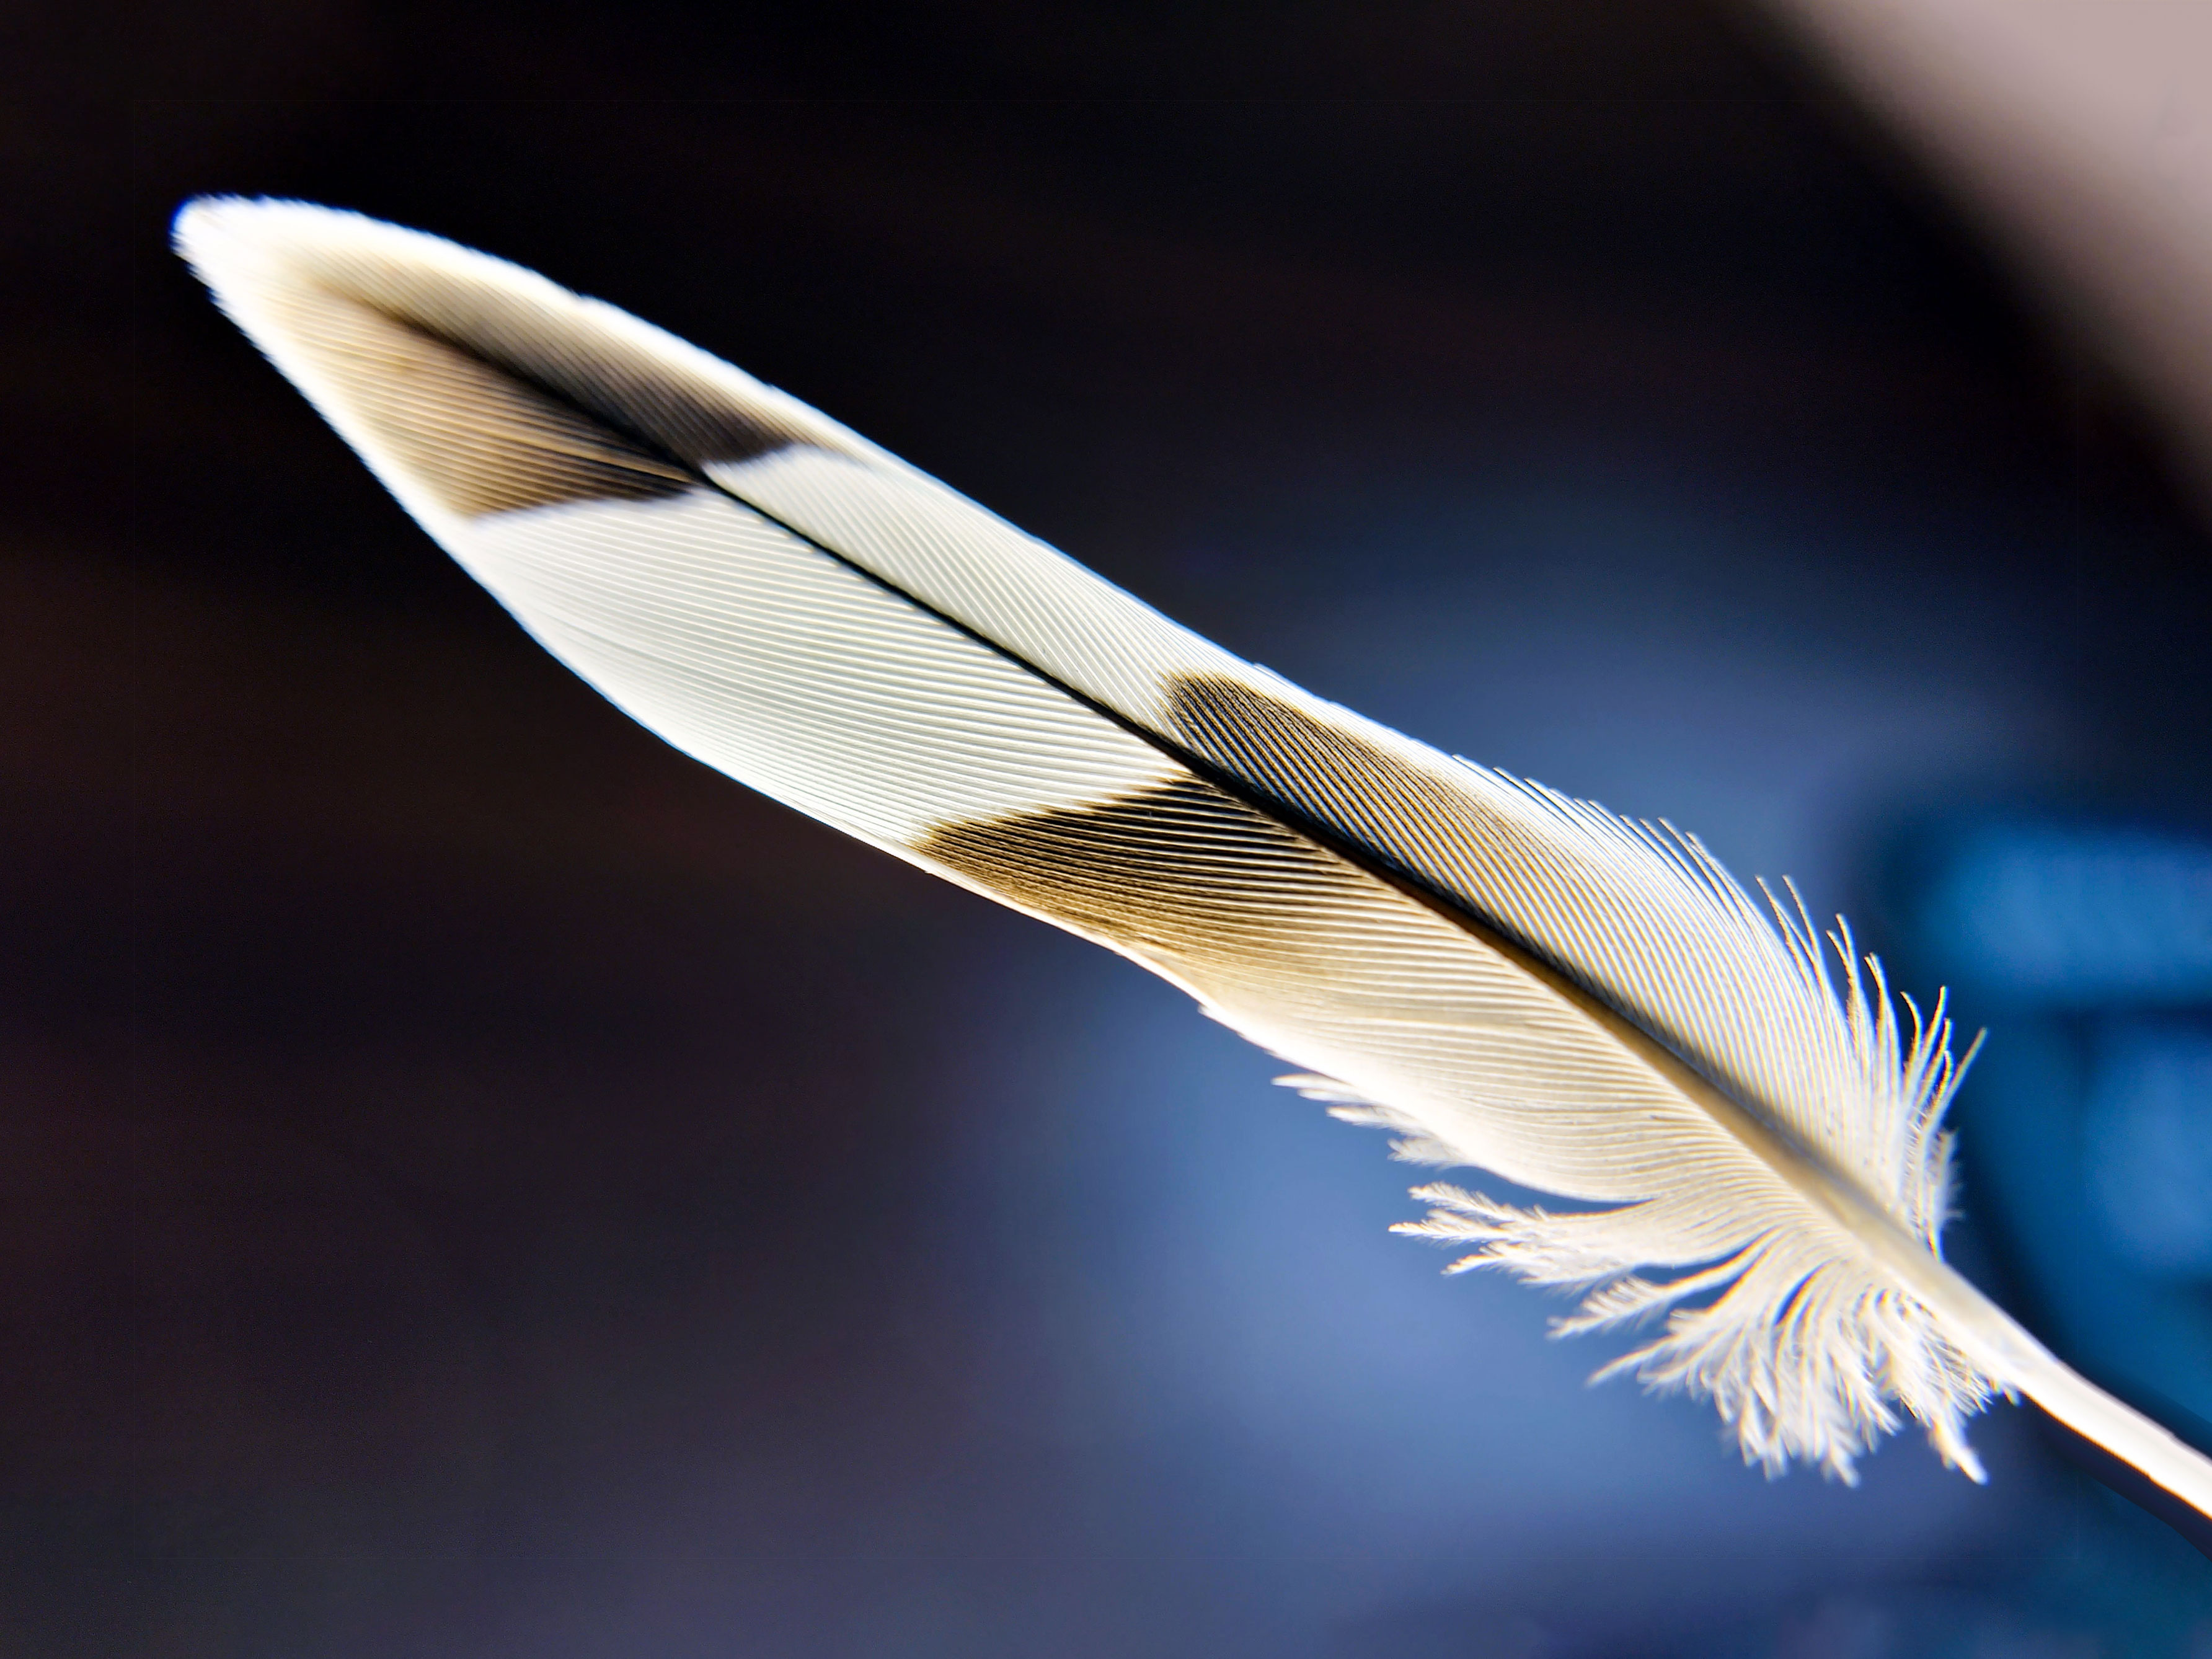
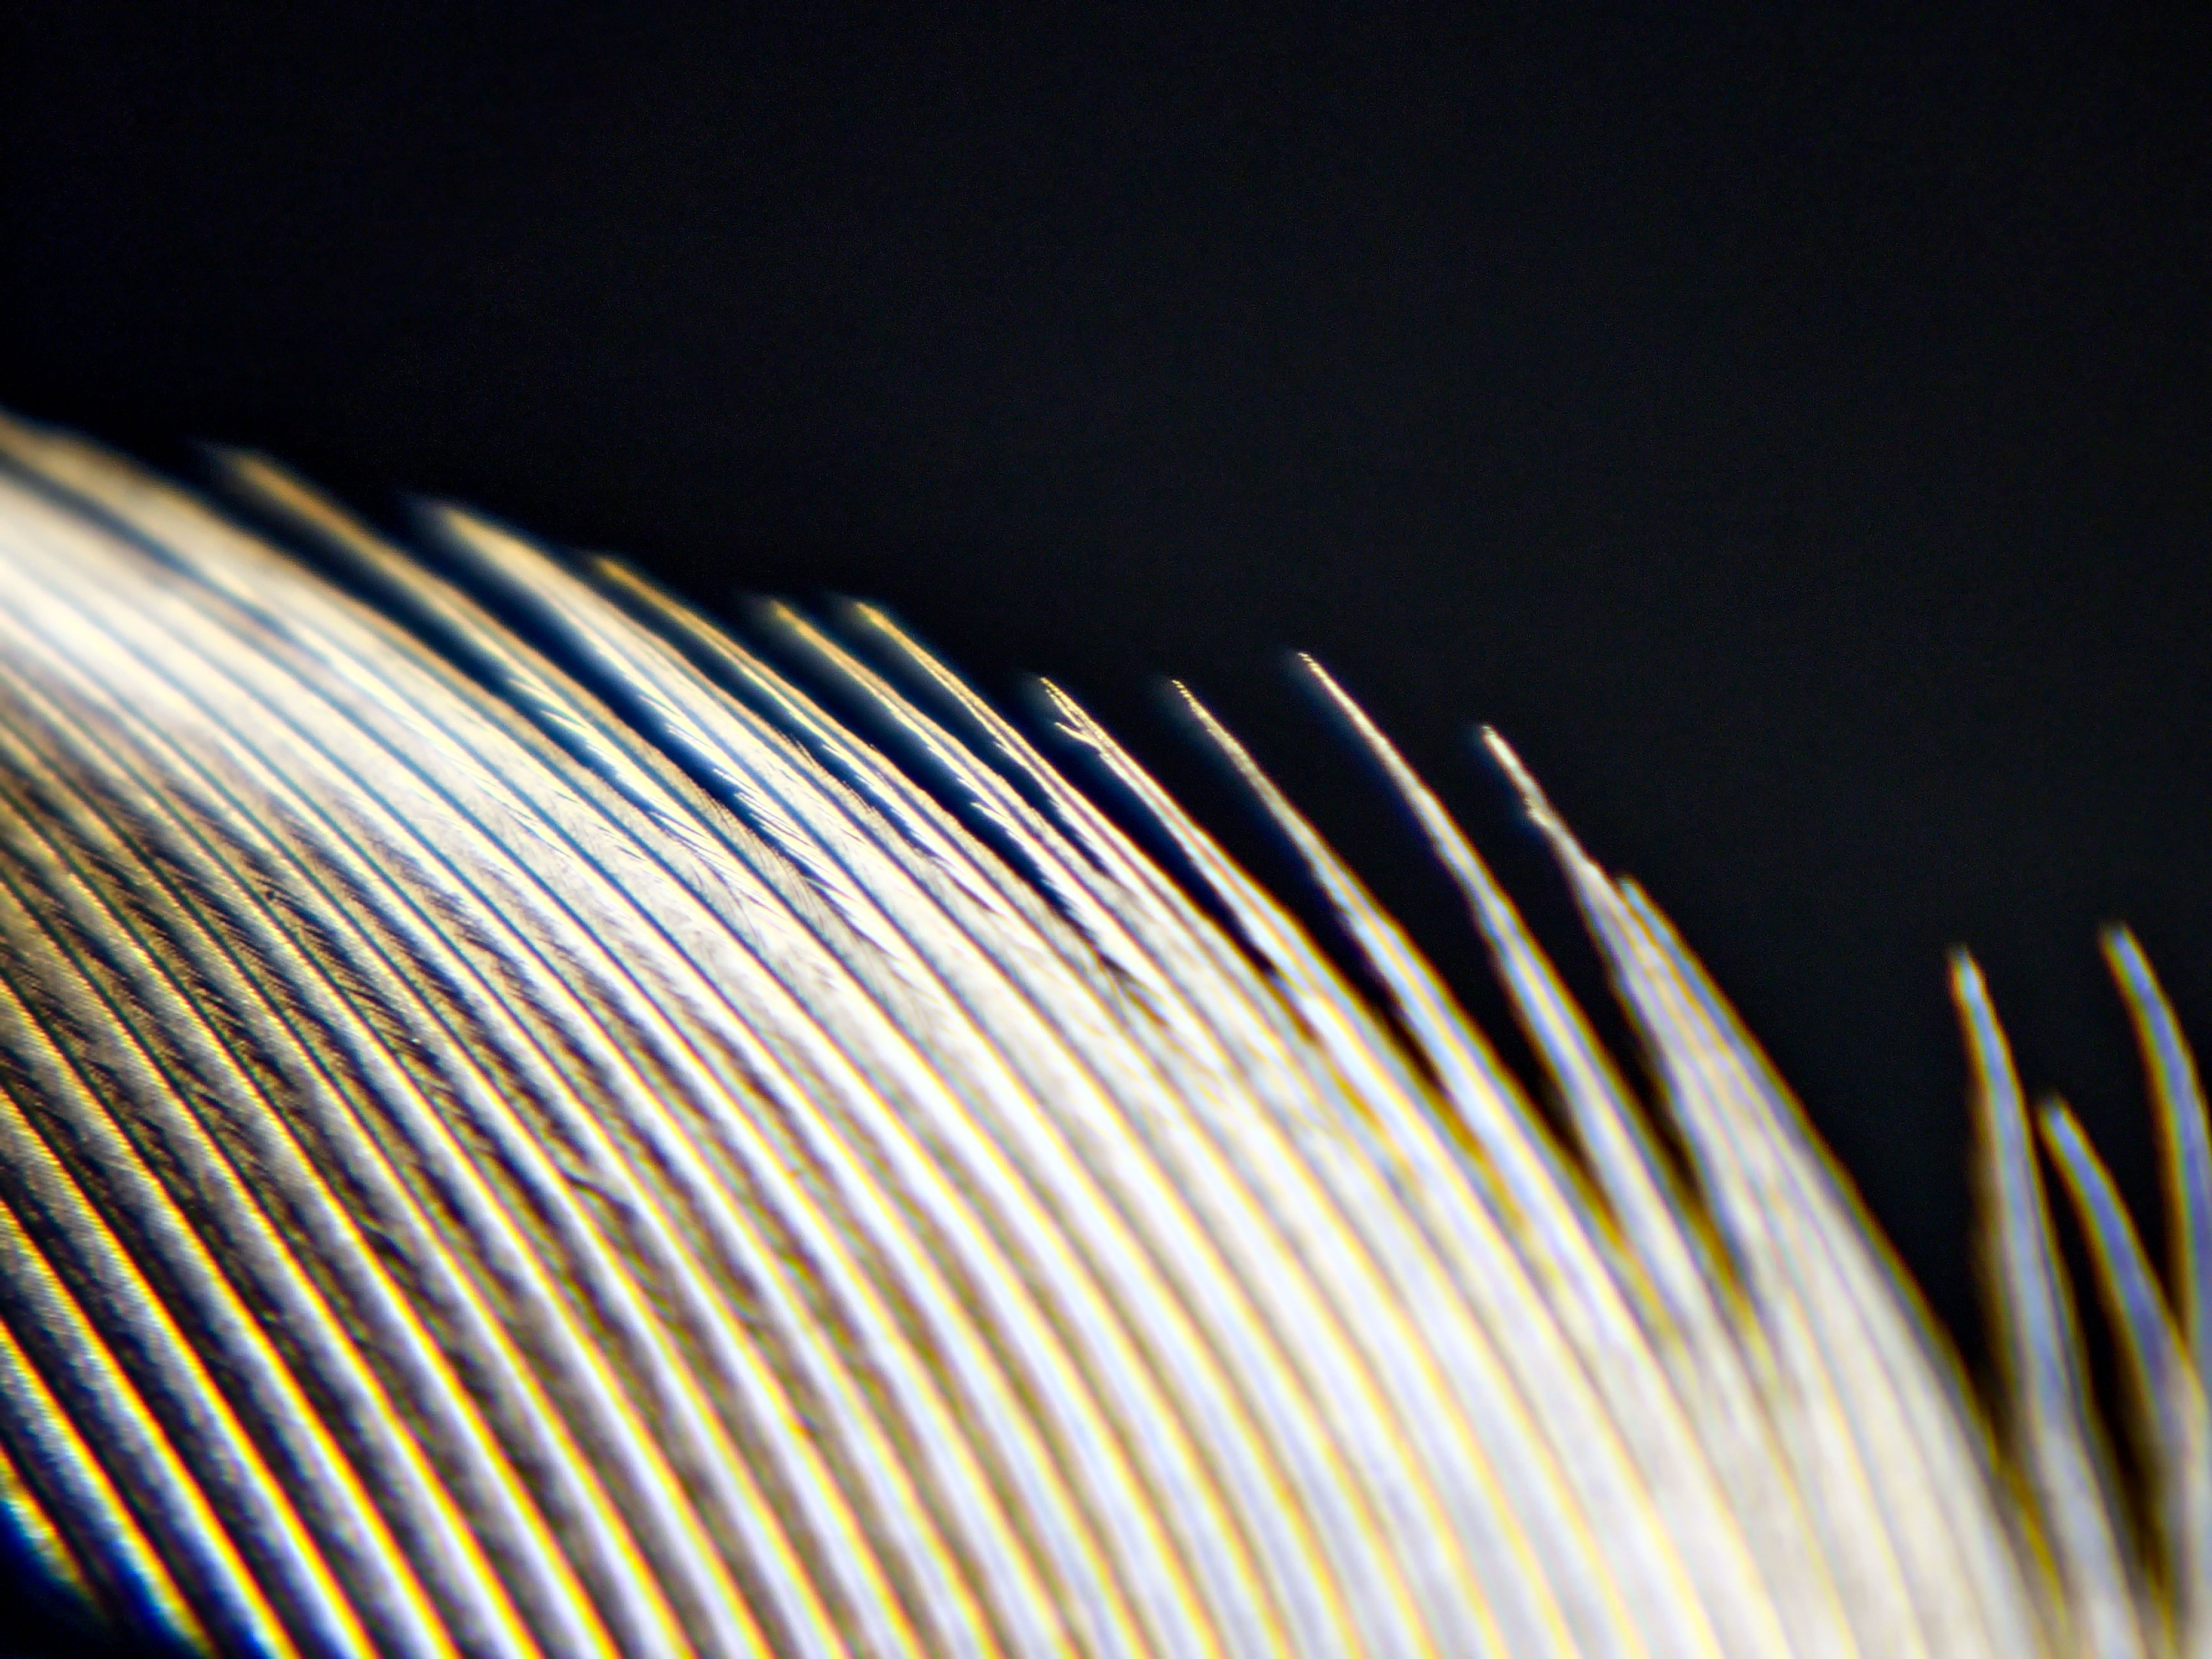
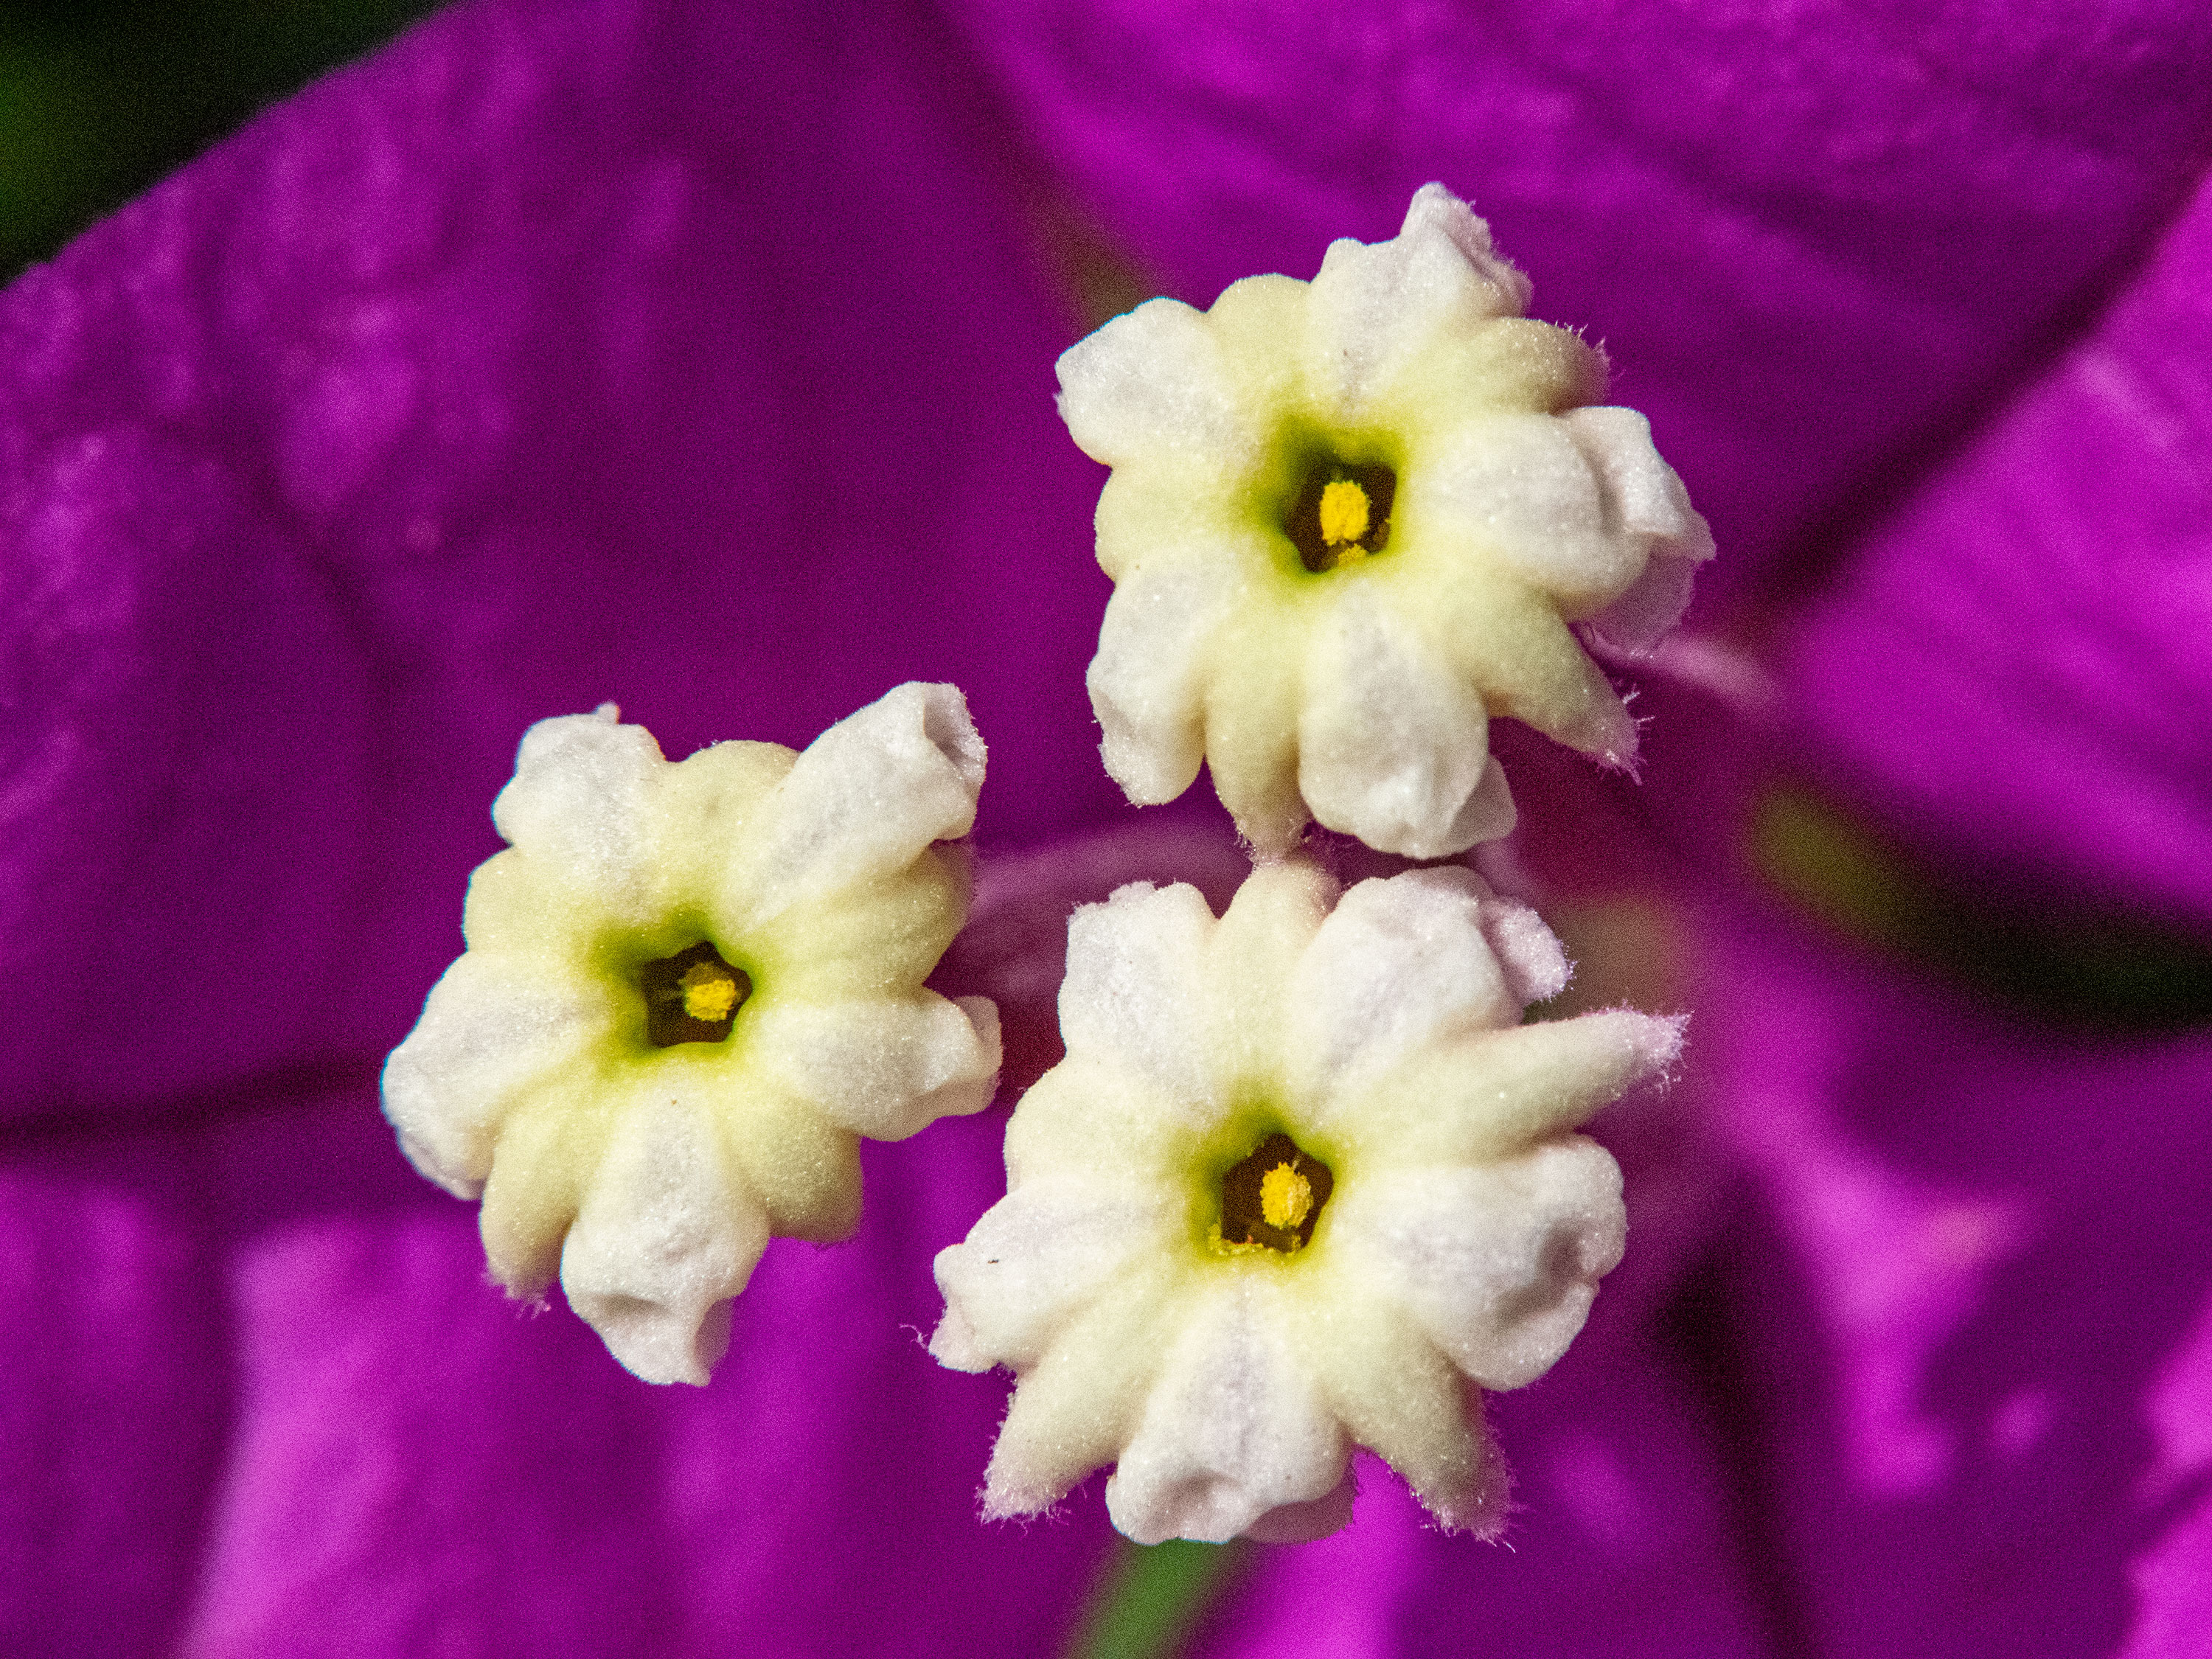
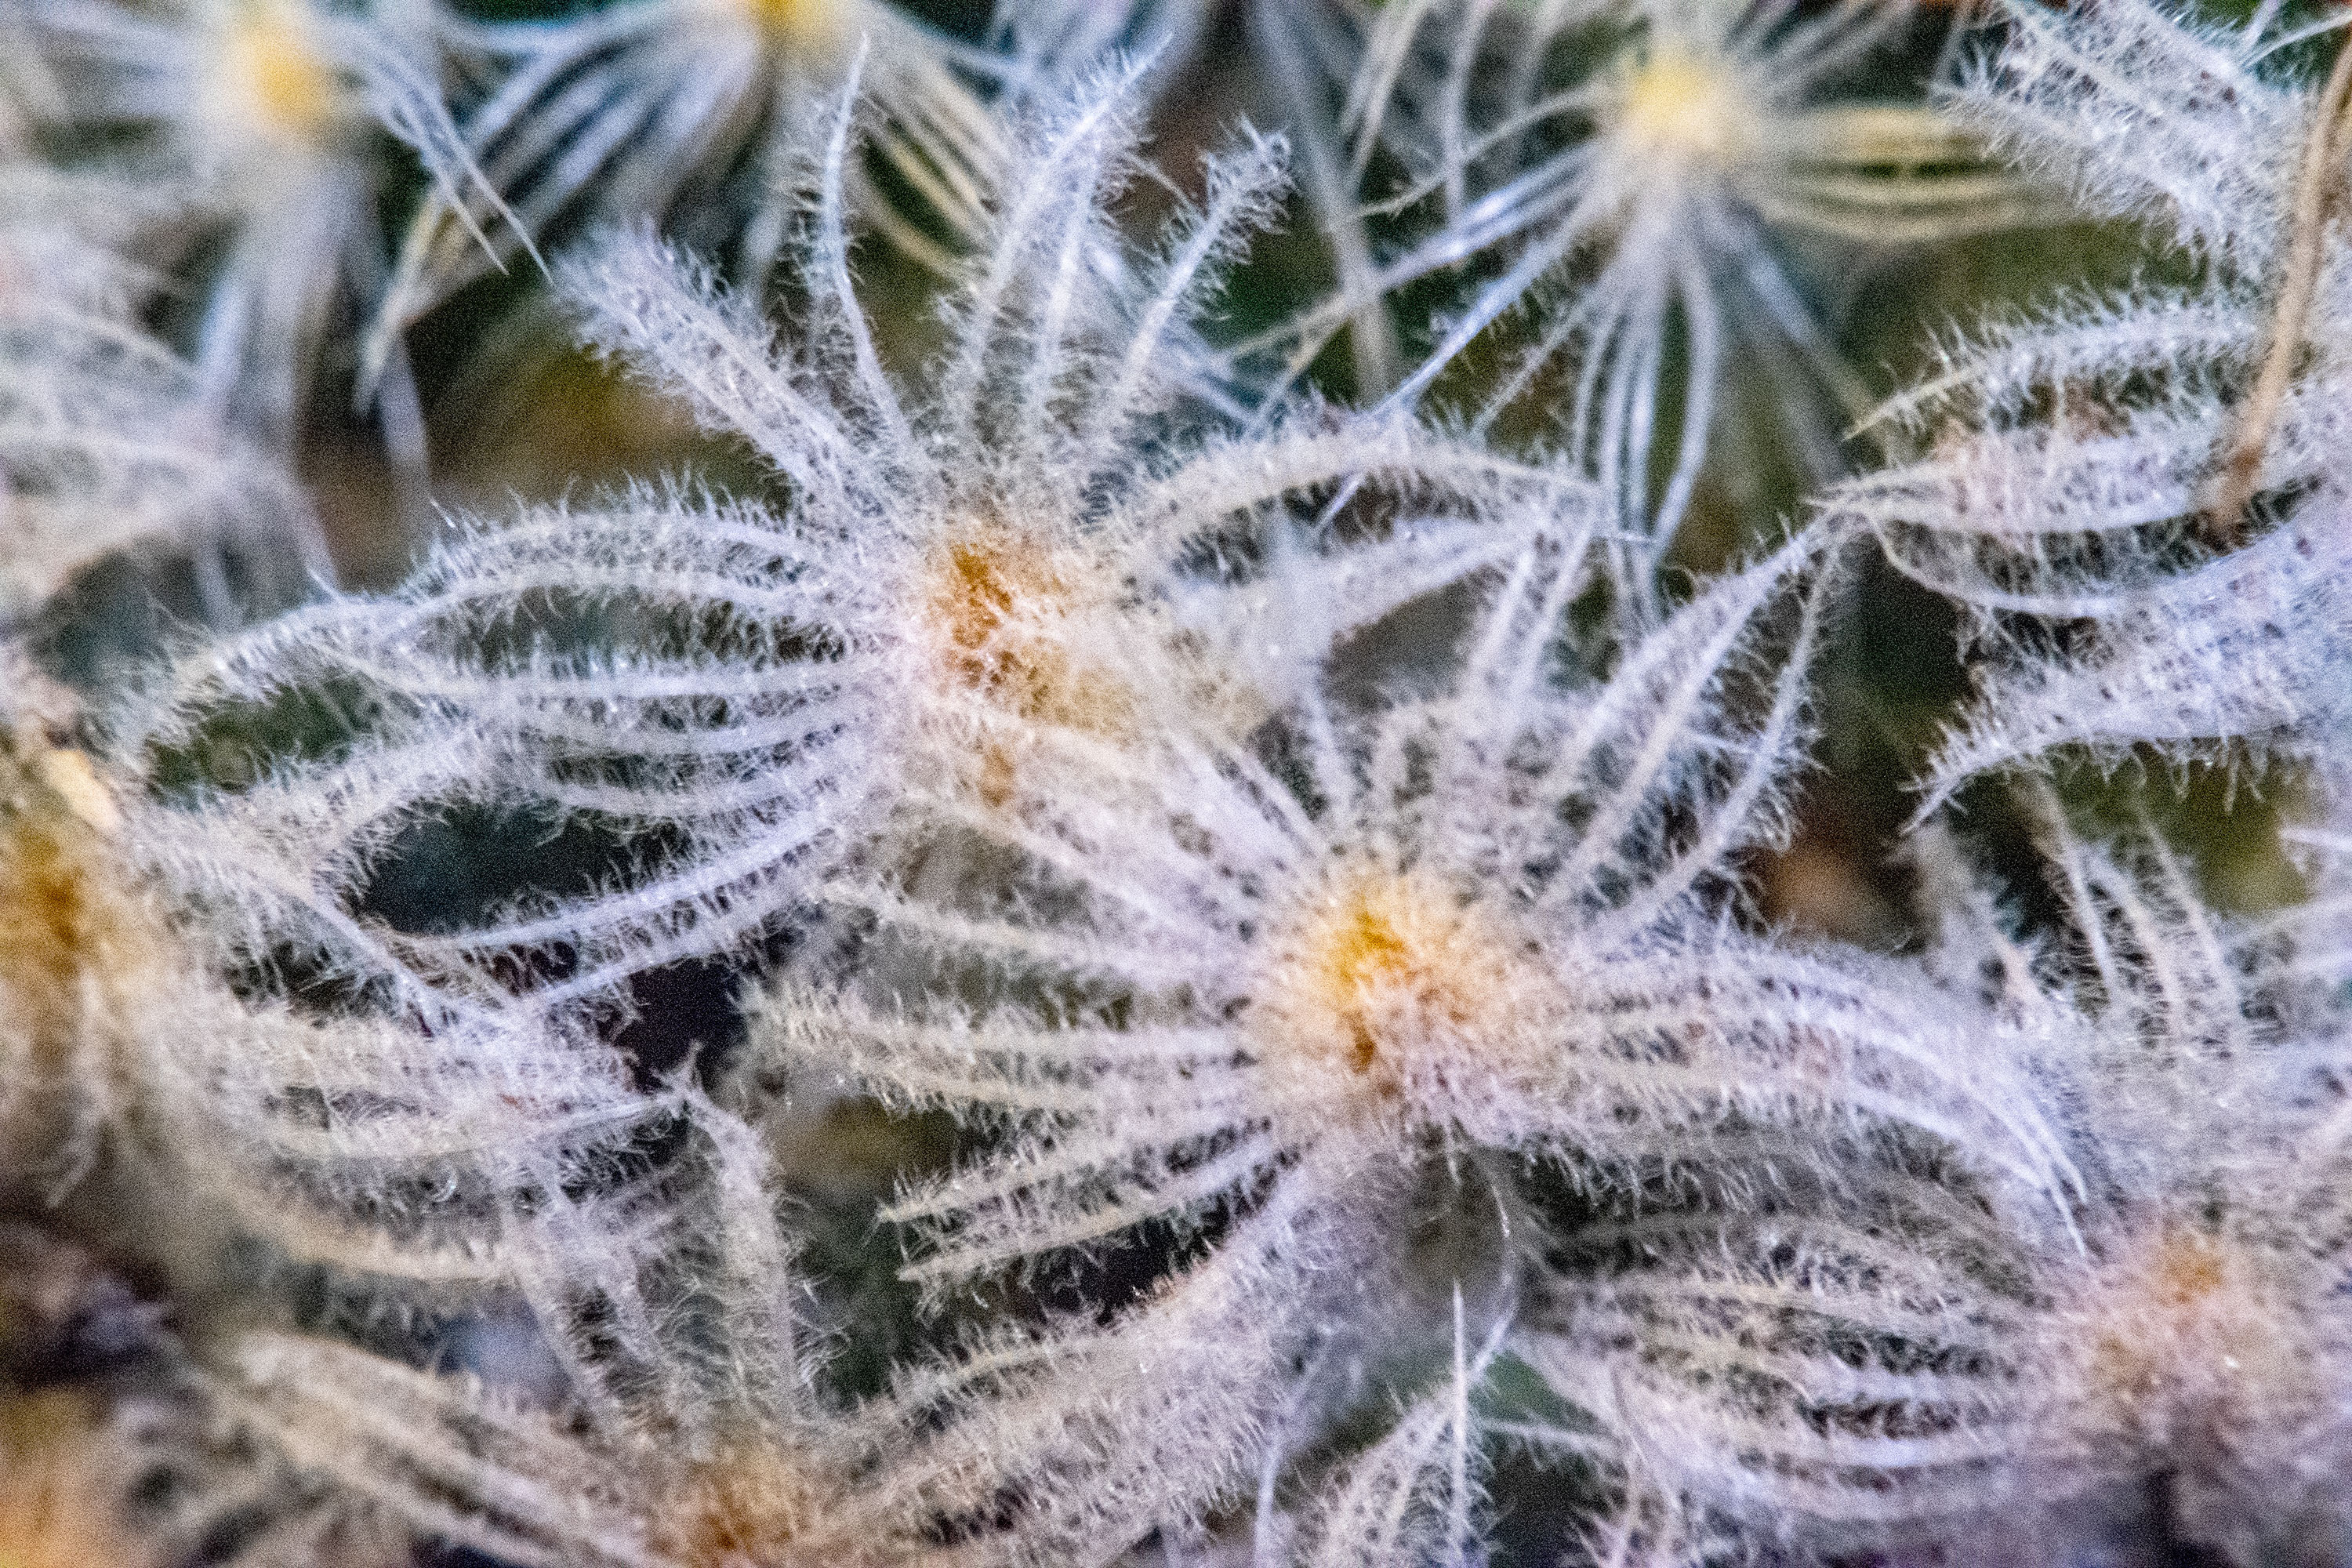
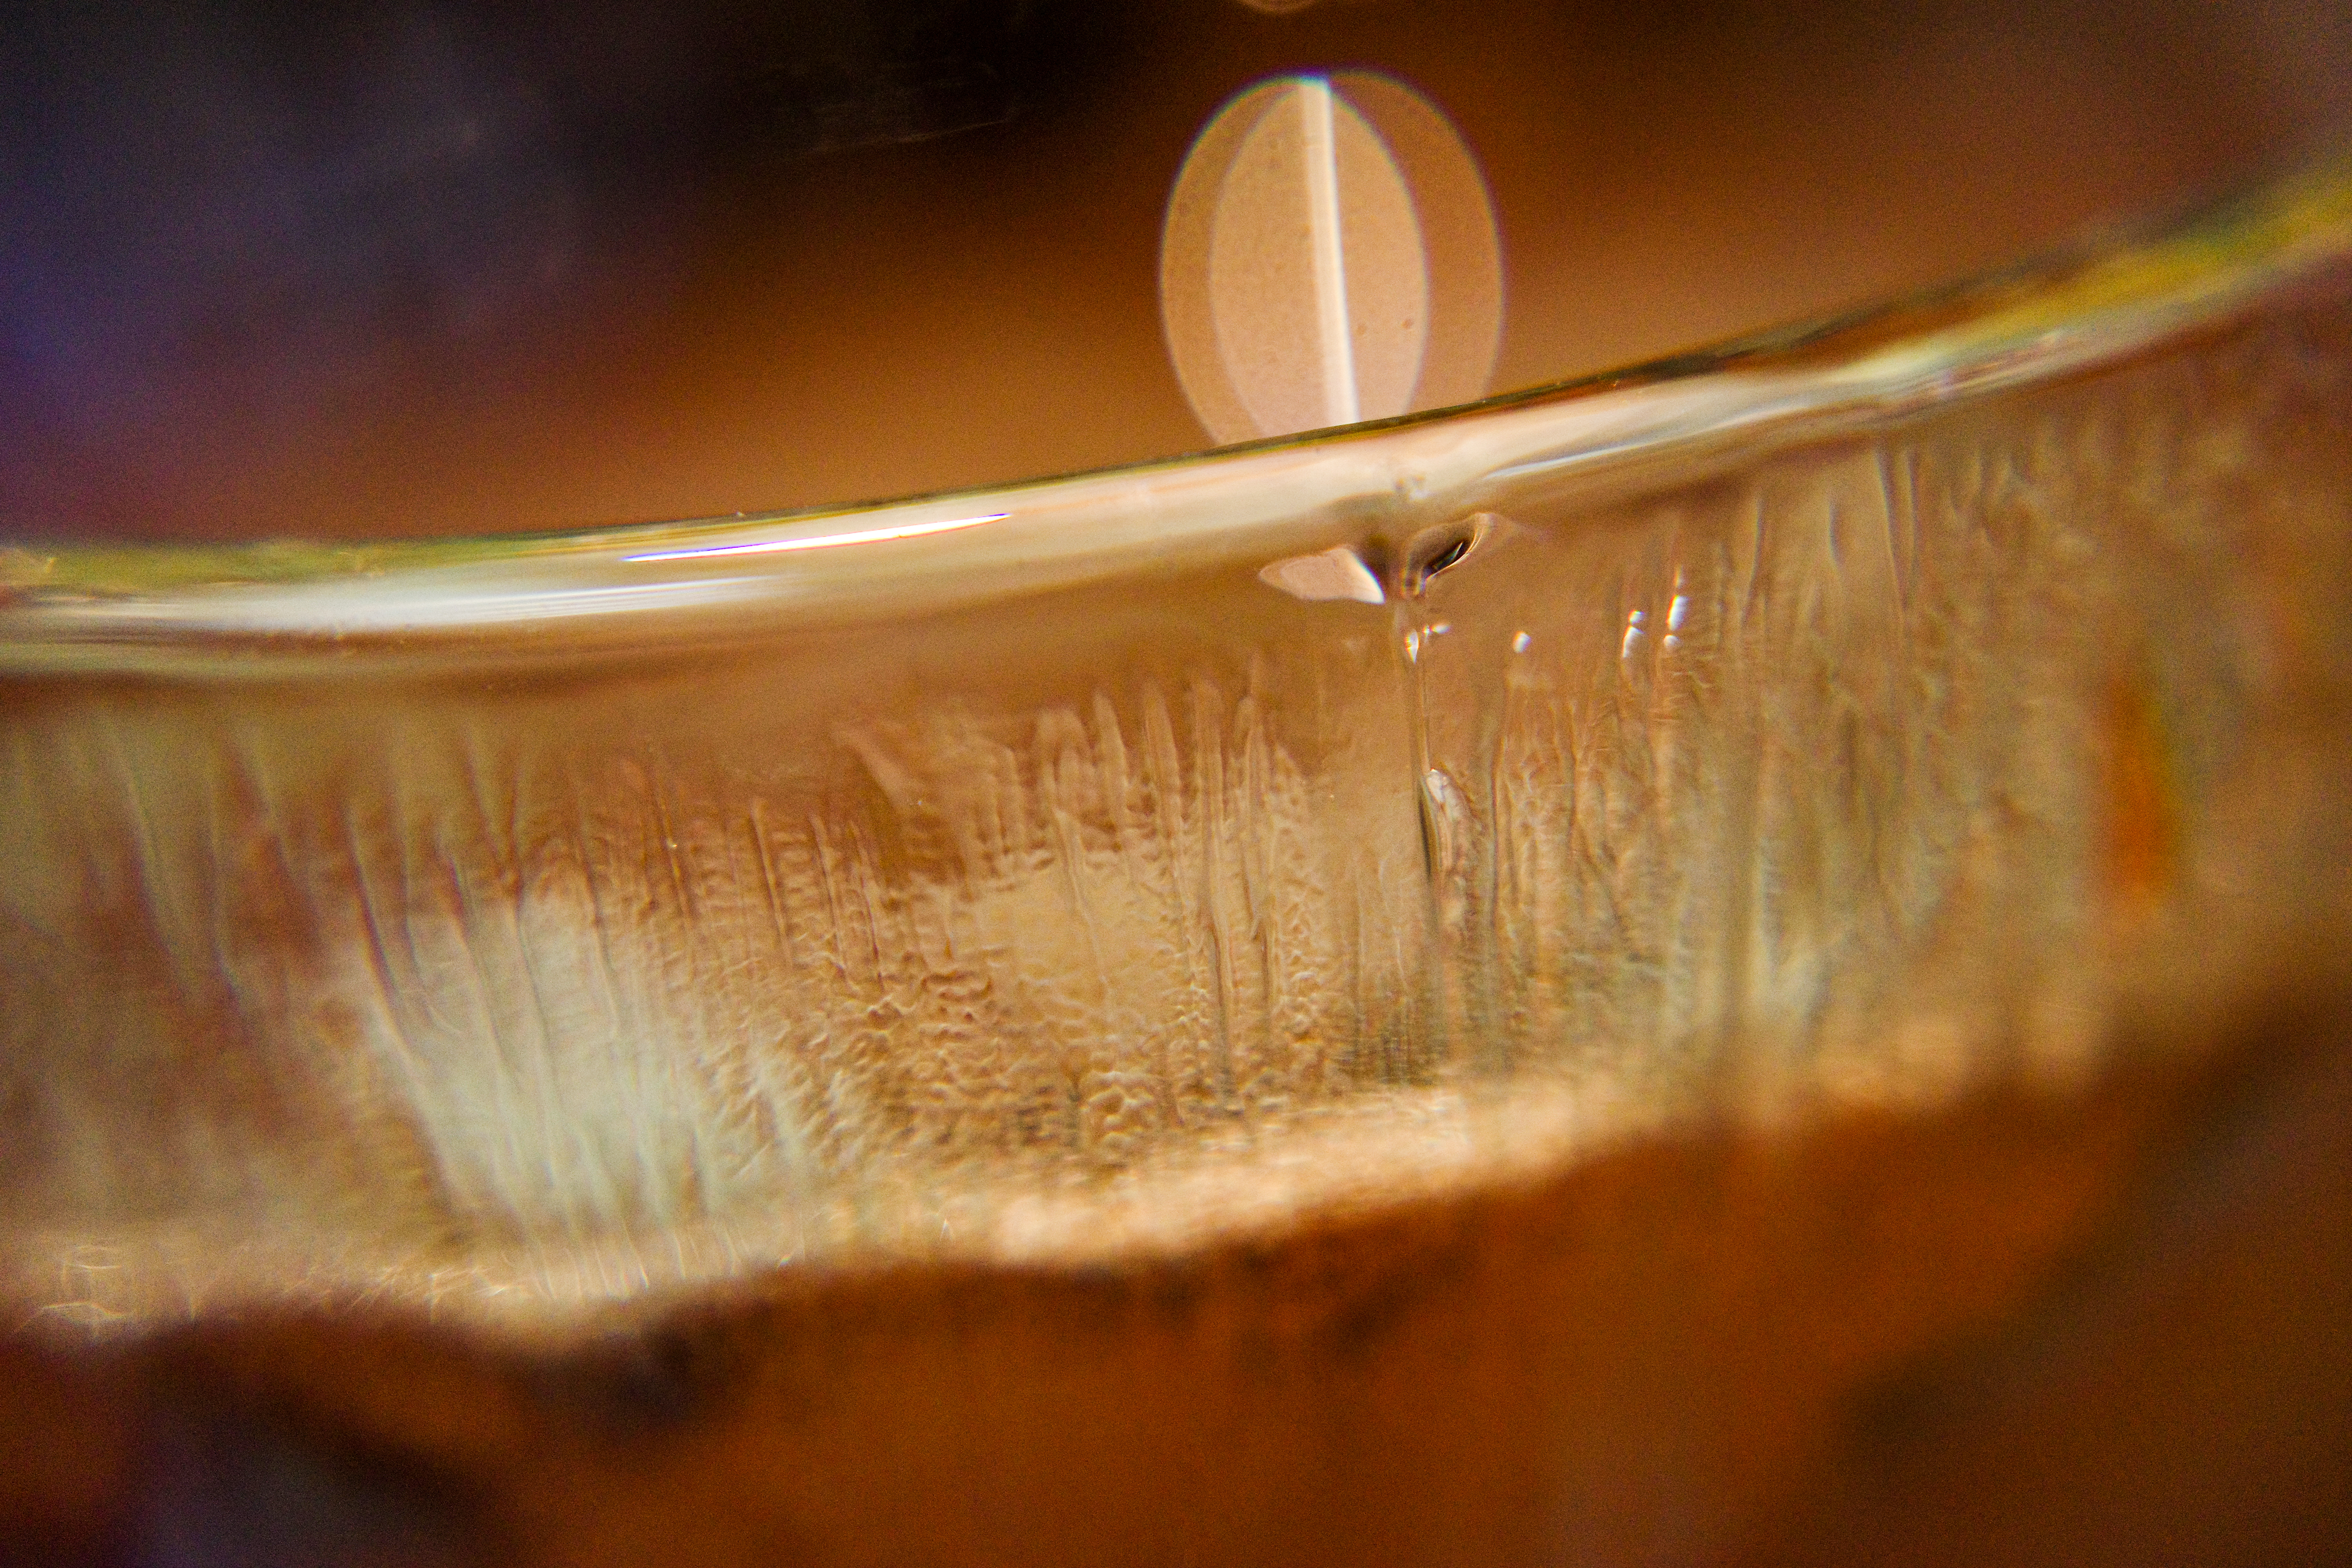
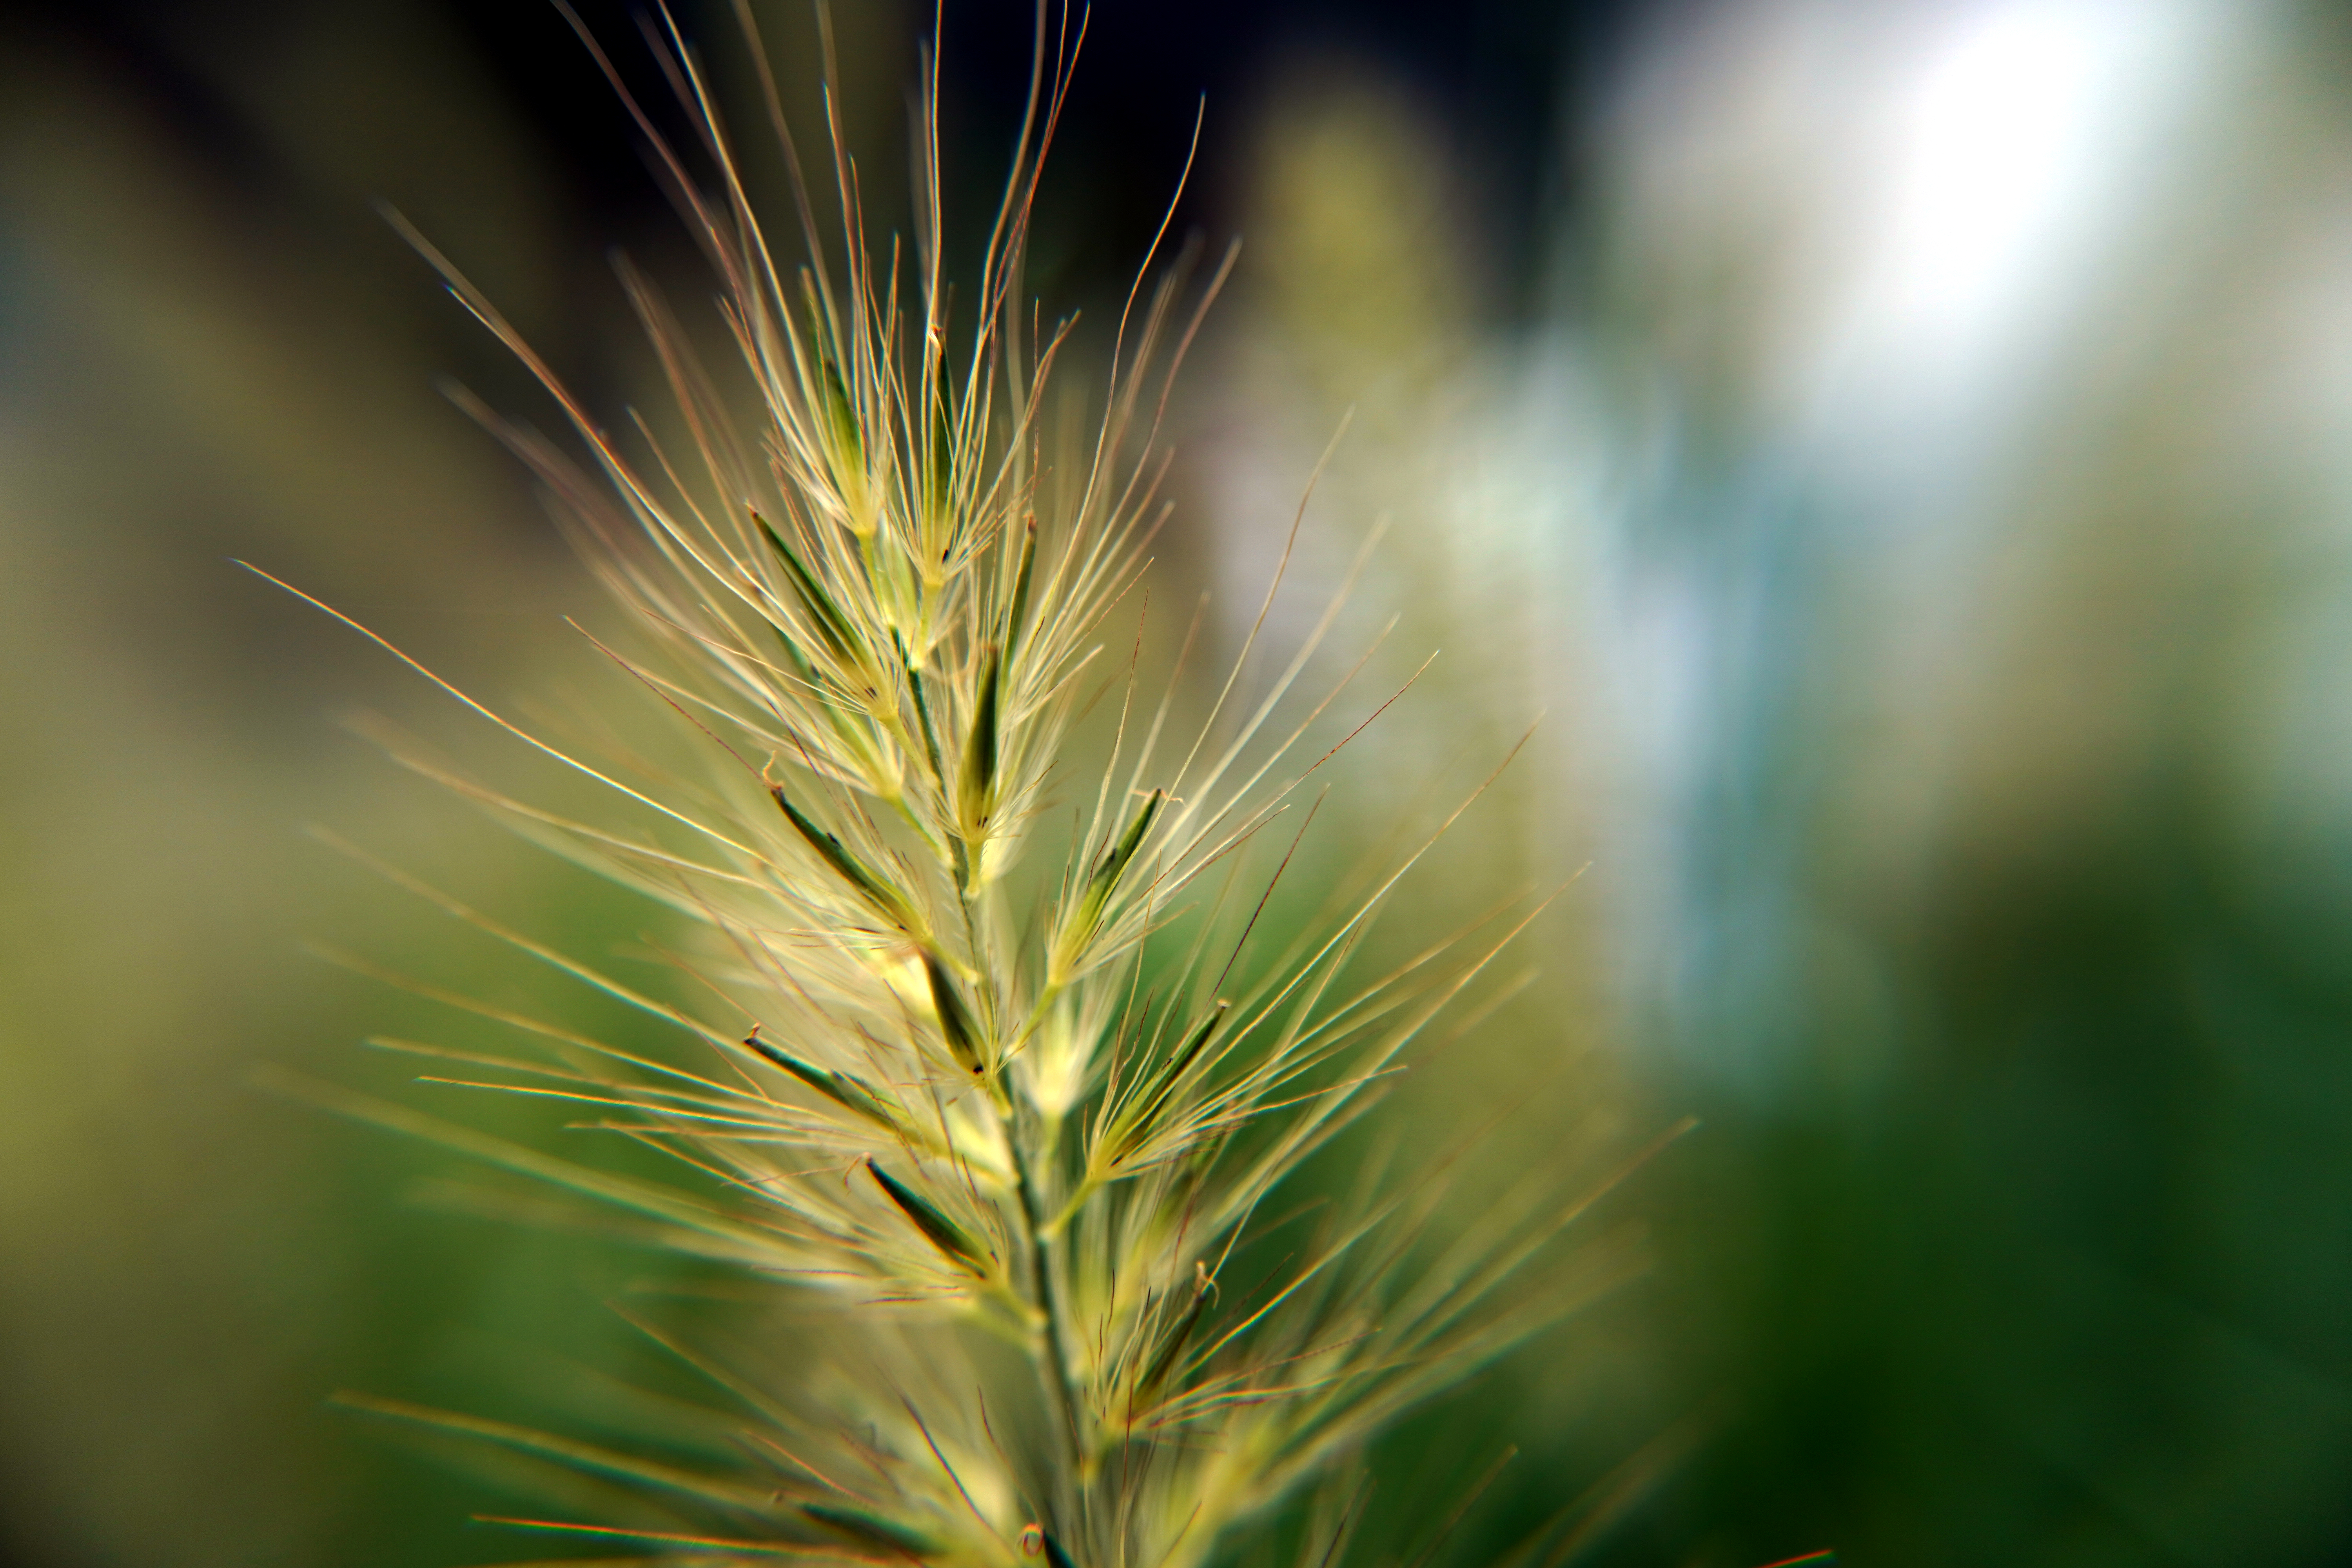
Photo is taken by the FotoZ Macro Lens.
Conclusion
So in the end, a macro lens is the best choice if you want to do serious macro work. But I recommend trying one before you invest in purchasing.
Make sure you really love doing macro photography and it’s something you’re going to stick with for the duration, not just have fun for a few days and put it in the closet.
Or, a good quality Macro Conversion lens will be recommended for affortable choice to have a try.
